Training Supervisor
uContact Supervisor is responsible for all system management, manages and monitors campaigns and autodialers; permissions, users, providers can be created and workflows are configured along with forms and reports.
- Supervisor Interface
- Canned Responses Creation and Modification
- How to Create a New Agent
- How to Add Users to Campaigns
Supervisor Interface
Canned Responses Creation and Modification
How to manage canned responses:
Prerequisites:
- Permissions: Supervisor access is required to create or manage Canned Responses.
- Availability: This feature is available for all campaign types except Telephony and Email.
Creating a New Canned Response
-
Click on the Campaigns button and select your desired campaign type (e.g., Webchat, SMS).

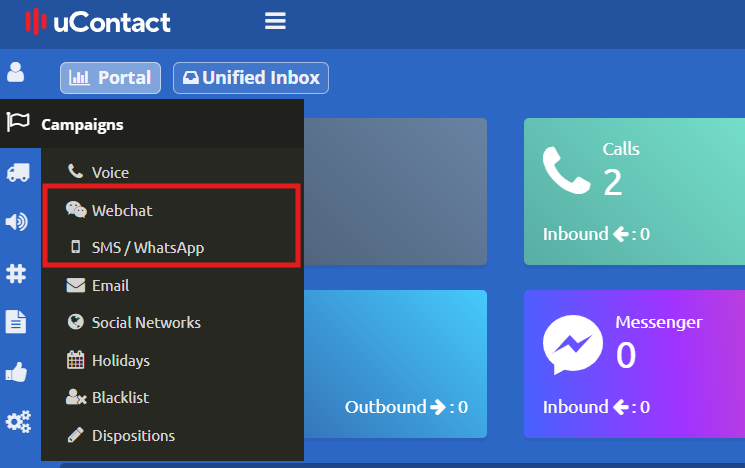
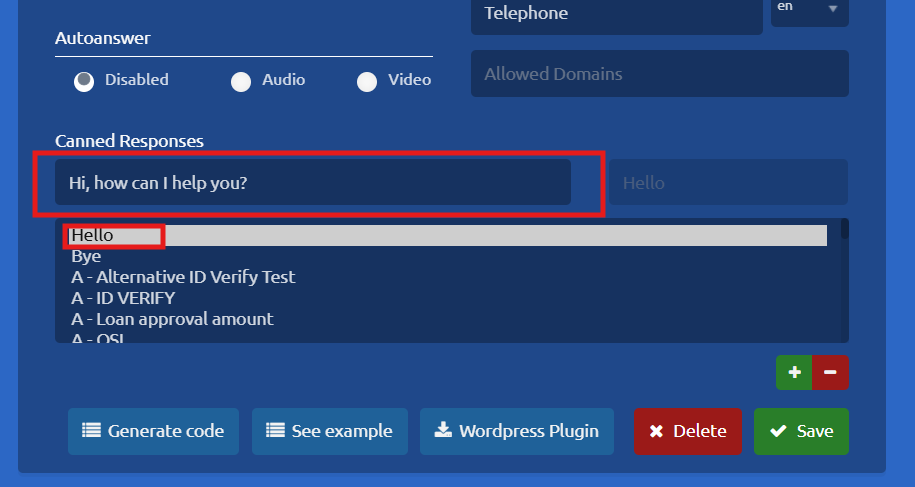
2. Choose the specific campaign you want to configure. Scroll down to the bottom of the settings page to locate the Canned Responses section, then click the + (Plus) icon to add a new response.
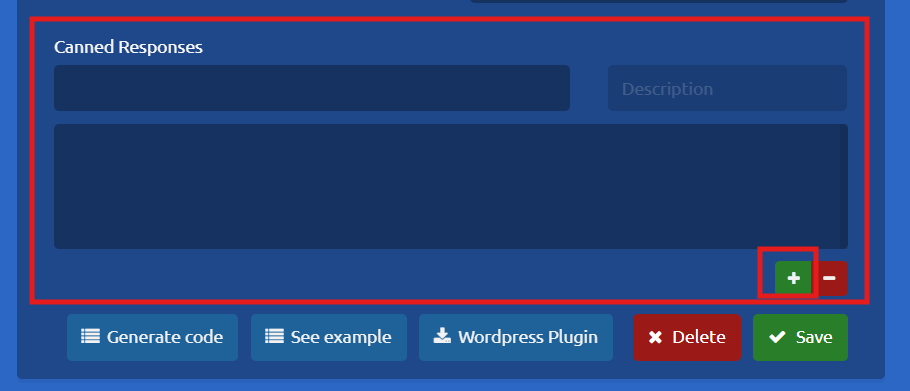
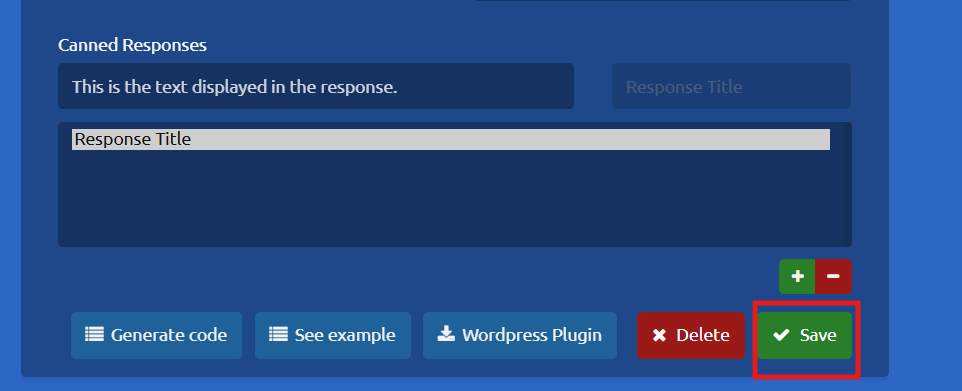
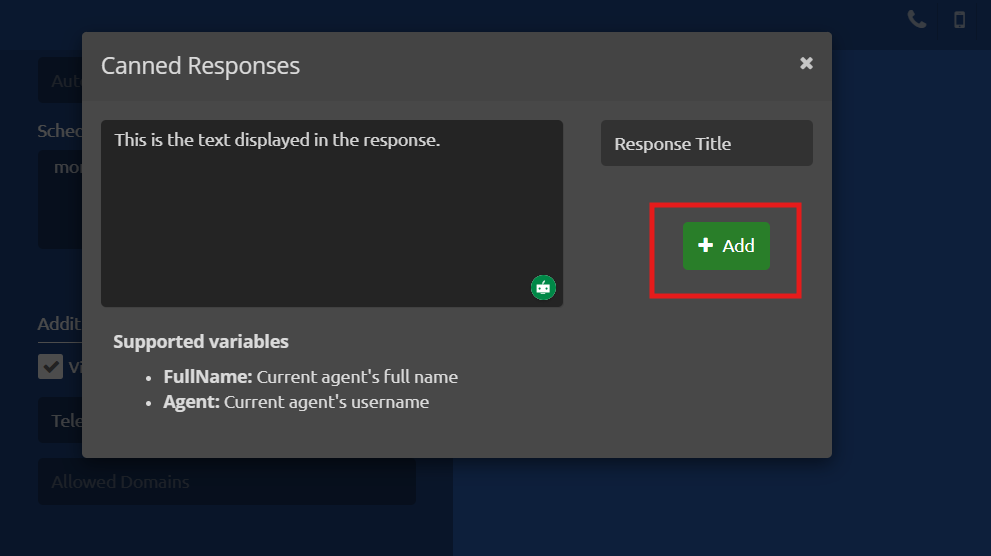
3. A dialog box will appear. Enter a Title and the Text for your response, then click Add.

4. Once added, click Save on the main page to apply the new Canned Response to your campaign.
Deleting a Canned Response:
1. Select your campaign and scroll down to the Canned Responses section.
2. Locate the response you wish to remove and click the - (Minus) icon next to it

Editing a Canned Response
- Select your campaign and scroll down to the Canned Responses section.
-
Click on the Canned Response you wish to modify, then click directly on its text area.
3. A dialog box will open where you can edit both the title and the text. Once you have made your changes, click add.
4. Finally, click Save on the main campaign settings page to ensure your updates are applied.

How to Create a New Agent
Follow these steps to create and configure a new agent in the system:
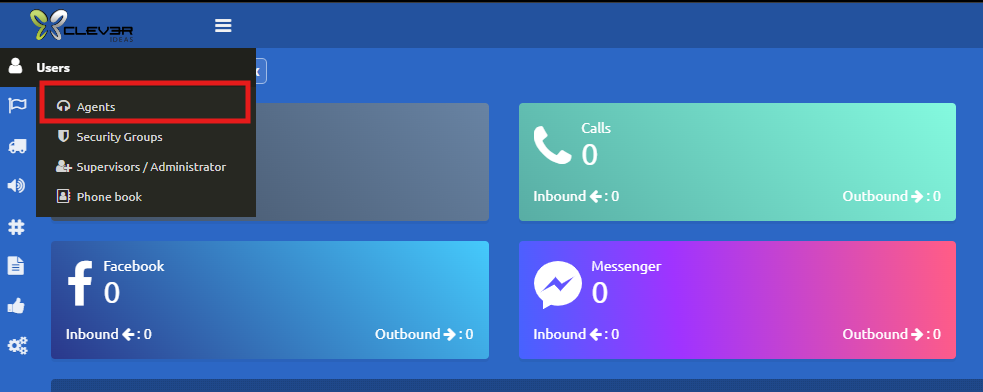
1. Go to the main navigation bar, select the Users option, and then click on Agents.
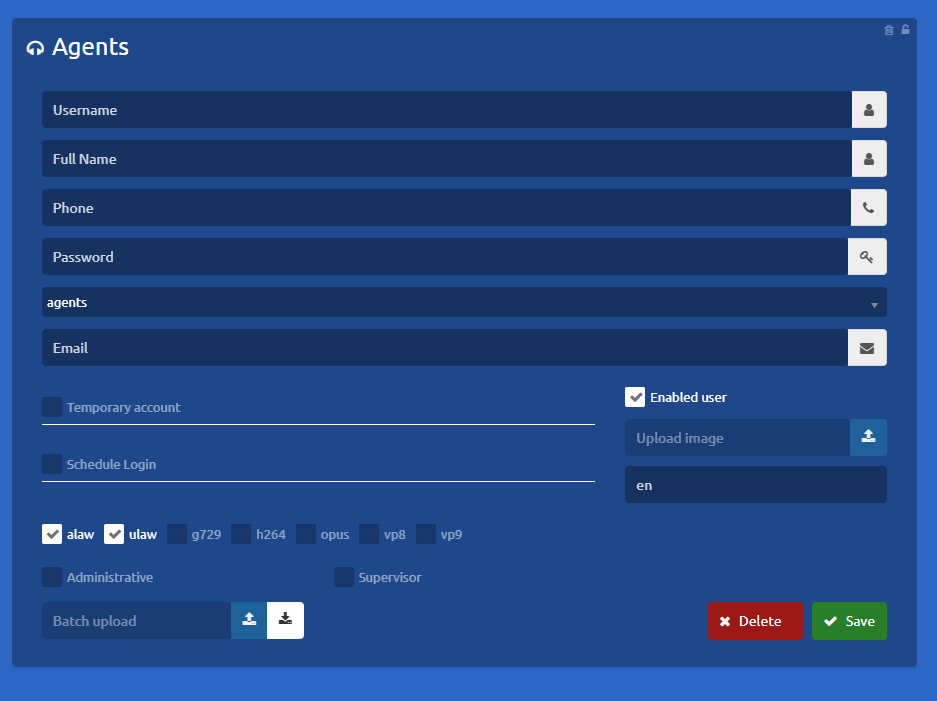
2. Fill in the Agent Information the Agents section will open. Complete the form by providing the requested details for the new agent:
-
User Name: Enter the username the agent will use to log into the system
-
Full Name: Enter the agent's complete first and last name.
-
Phone: Enter the agent's assigned extension. (Note: Please verify that this extension is not already in use).
-
Password: Assign a temporary generic password (e.g.123456) The system will automatically prompt the user to change it upon their first login.
-
Email: Enter the agent's email address (if applicable).
- Temporary account: Grants temporary access to uContact
- Encodes check box: Codecs used by the provider
-
Language: Select the user's preferred language for the system interface
-
Supervisor: Checking this option will grant the user full supervisor privileges within the system (Supervisor menu and spymode)
- Administrative: User with access to the supervisor menus and privileges but without a phone and spymode
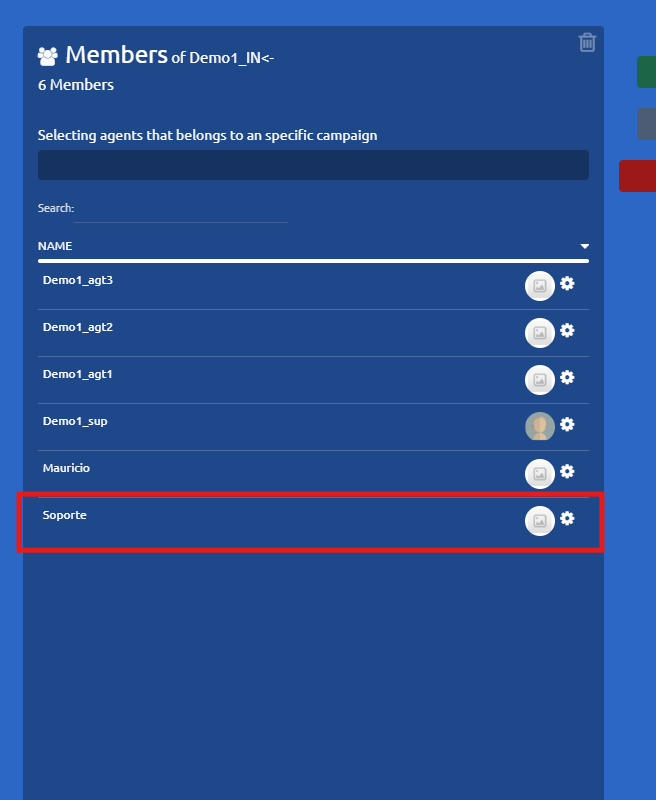
How to Add Users to Campaigns
Important Consideration: To fully activate a user, the agent must be added to a voice campaign. This step is mandatory for account activation, even if the selected campaign is currently inactive.
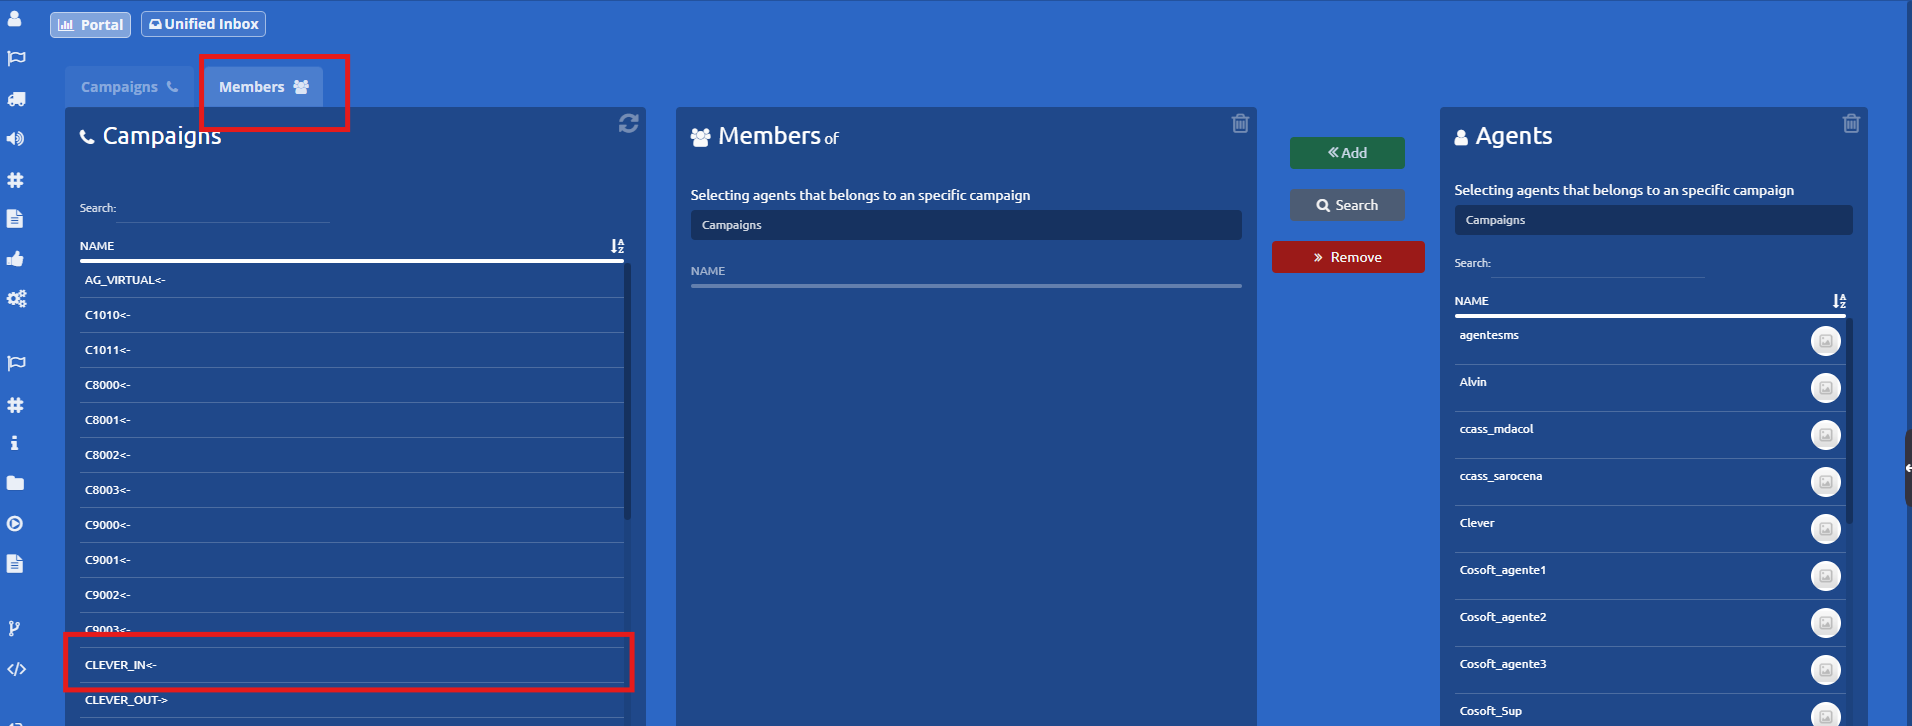
1. Access the Campaigns Menu Go to the side menu, select the Campaigns section, and choose the appropriate campaign type.

2. Select the members tab, locate and select the specific campaign you want to modify.
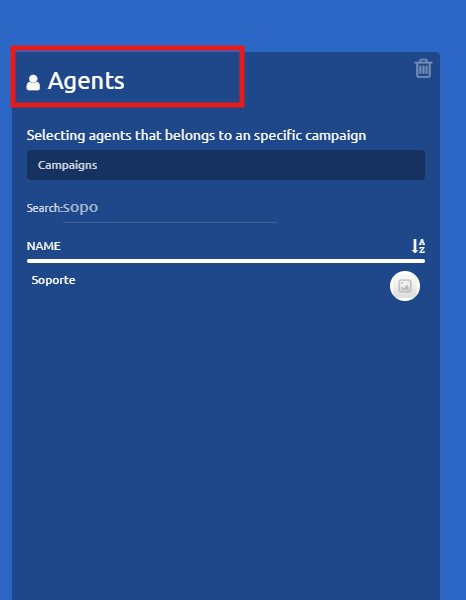
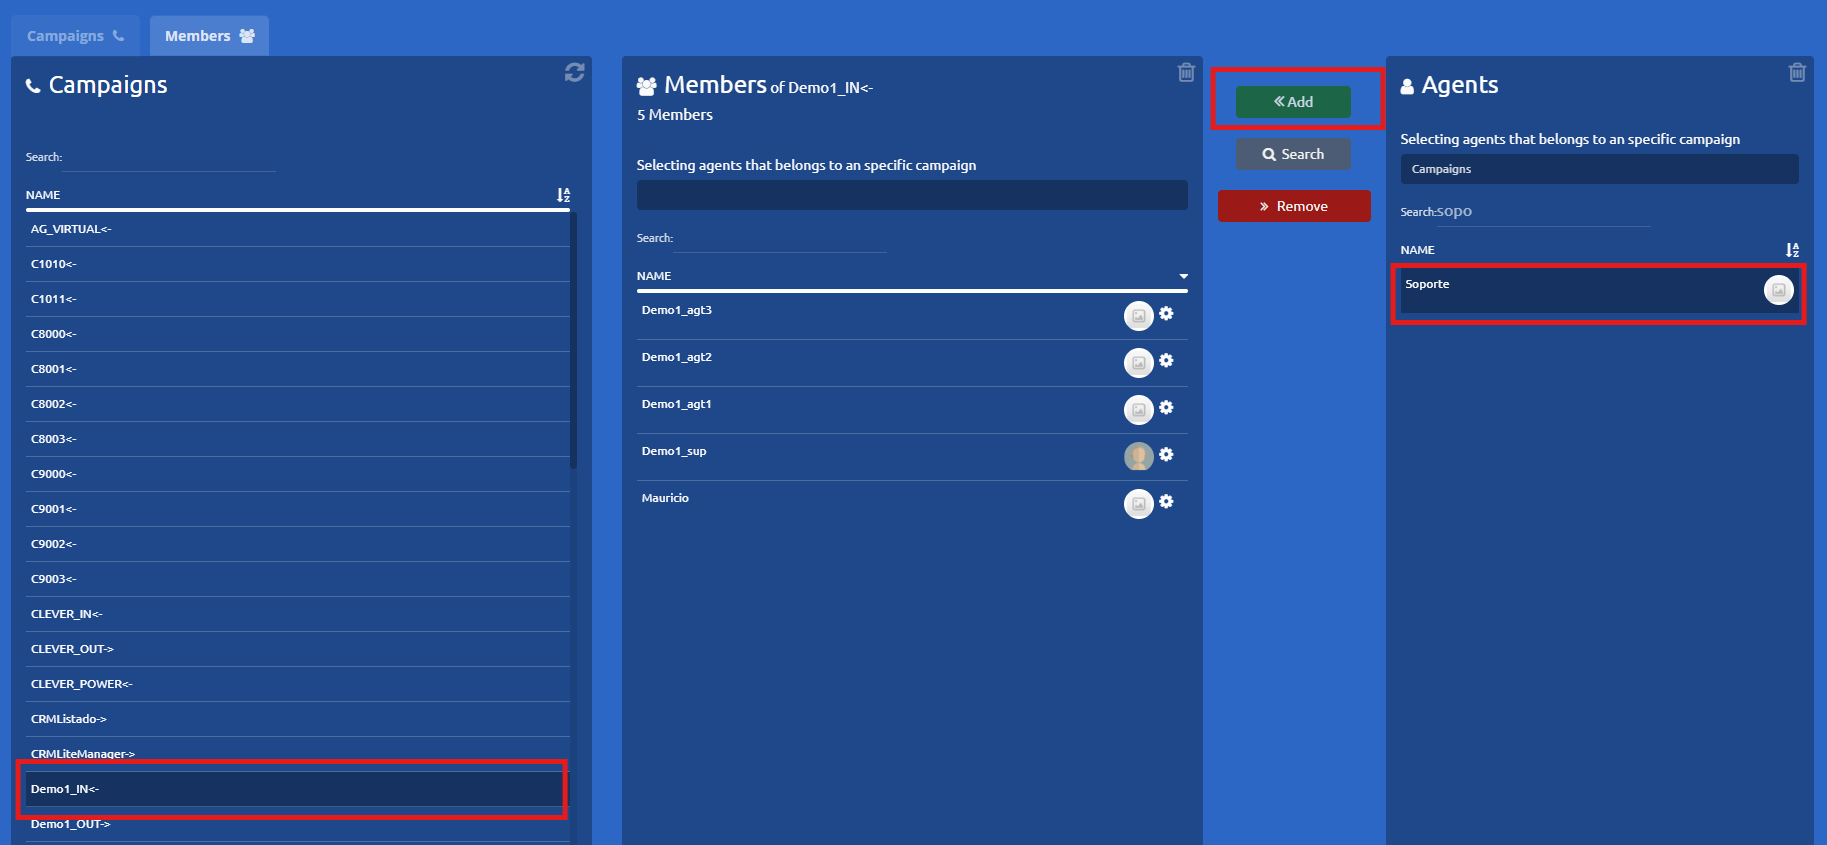
3. Find the User Search for the agent you wish to add from the available users list and click on their name.
4. Add the Agent Once both the campaign and the agent have been selected, click the Add button.
5. Verify the Addition Double-check that the user now successfully appears within the campaign's active list of agents.