Canned Responses Creation and Modification
How to manage canned responses:
Prerequisites:
- Permissions: Supervisor access is required to create or manage Canned Responses.
- Availability: This feature is available for all campaign types except Telephony and Email.
Creating a New Canned Response
-
Click on the Campaigns button and select your desired campaign type (e.g., Webchat, SMS).
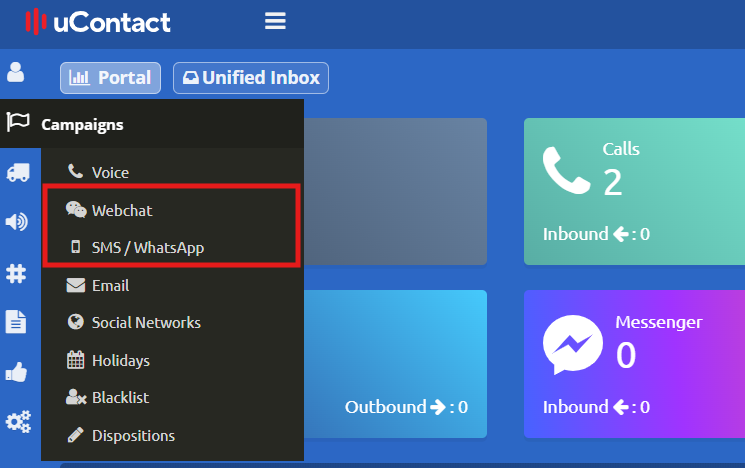

2. Choose the specific campaign you want to configure. Scroll down to the bottom of the settings page to locate the Canned Responses section, then click the + (Plus) icon to add a new response.
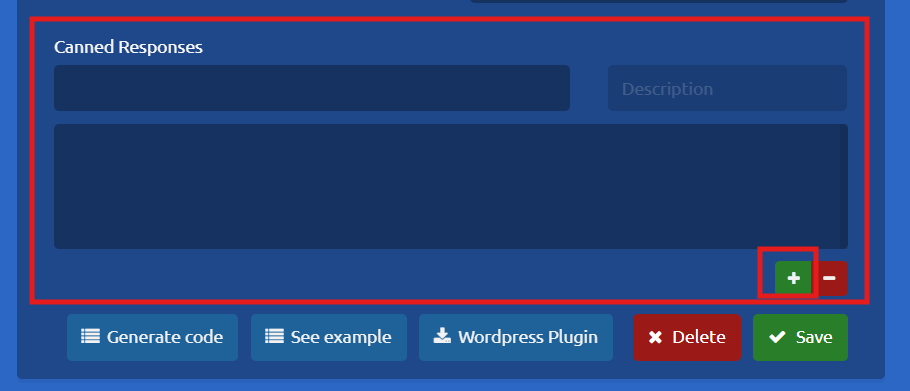
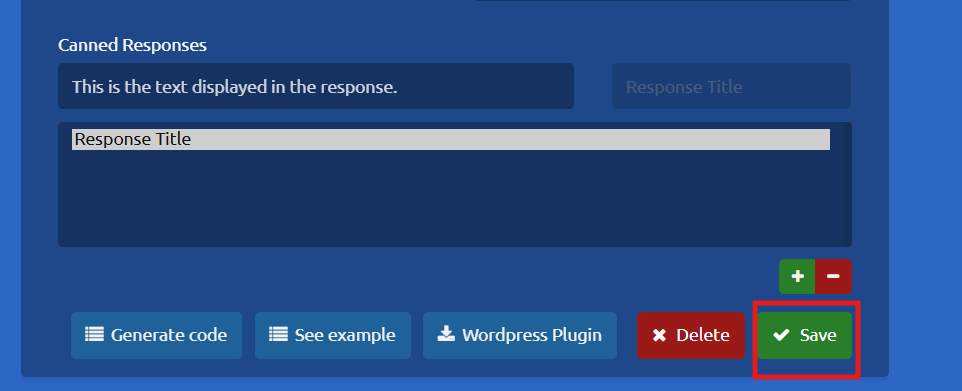
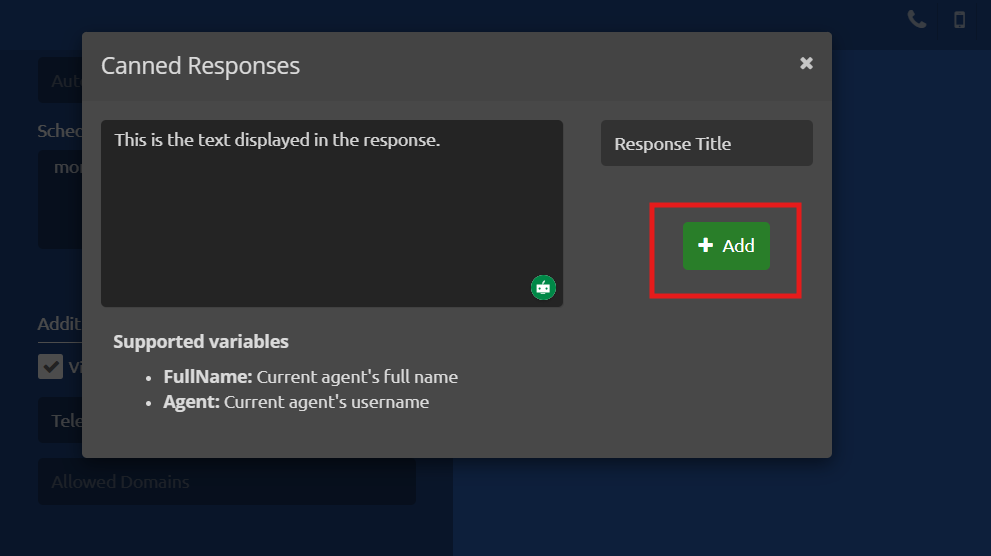
3. A dialog box will appear. Enter a Title and the Text for your response, then click Add.

4. Once added, click Save on the main page to apply the new Canned Response to your campaign.
Deleting a Canned Response:
1. Select your campaign and scroll down to the Canned Responses section.
2. Locate the response you wish to remove and click the - (Minus) icon next to it

Editing a Canned Response
- Select your campaign and scroll down to the Canned Responses section.
-
Click on the Canned Response you wish to modify, then click directly on its text area.
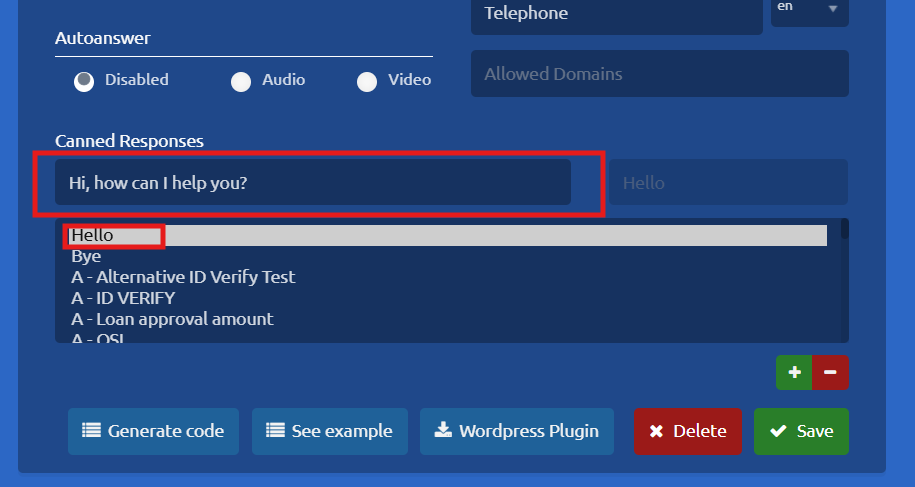
3. A dialog box will open where you can edit both the title and the text. Once you have made your changes, click add.
4. Finally, click Save on the main campaign settings page to ensure your updates are applied.
